For bikers on the road, a puncture repair kit is a must-have. Tools as simple as tire lever, rubber cement and repair patches can save you from stuck in the middle of fun. Follow the simple procedures of “glue and patch”, you will be on the road in no time!
Tools to have: tire levers (to remove tire tube), metal rasp (to roughen puncture area), rubber cement and rubber patch (to repair puncture).
How to glue and patch:
1. Remove the object that has caused the puncture.
2. Take out the inner tube using tire levers.
3. Locate the puncture. Put the tube in water to look for bubbles if necessary.
4. Clean the area around the puncture and keep it dry. Then roughen the area with metal rasp or sandpaper. The area roughened should be a bit bigger than the rubber patch you are to apply.
5. Apply a thin layer of rubber cement on the puncture with a clean and dry tool. Spread the glue around the area, which should be a bit larger than the repair patch.
6. Wait for at least 5 minutes for the glue to dry.
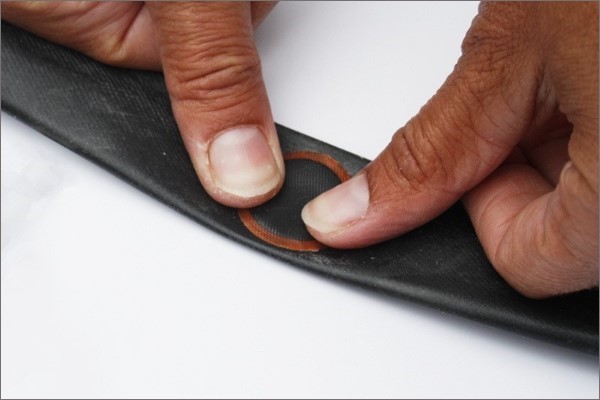
7. Take the rubber patch. Peel off the foil backing and stick the patch onto the puncture area. Press firmly, starting from center and then all over the area.
8. Remove the cellophane backing of the patch. Make sure the patch is firmly attached before refitting the tube.
Related product: Handy Bike Repair Kit (1002486-B)

