Going outdoor camping is a great weekend getaway choice for modern people. Staying in a WIFI-free area might actually wins you back the peace of mind.
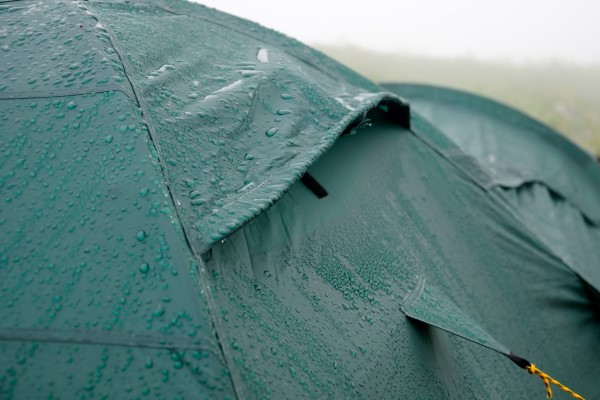
As you are meditating in the tent, however, you do not want the raindrops or morning dews find their way into your meditation space.
We cannot stop the rain outside, but we can stop the leakage inside as long as we carefully seam seal the tent in advance. Newly-made tents are readily seam sealed before getting out of factory while the seam sealing adhesive might be flaking away over time and the tent will need seam sealing again.
It is thus essential that campers have the tools and know how to seam seal a tent when it is needed.
Seam sealer is some sort of viscous liquid that is also called as waterproofer or waterproofing sealant. Following the steps carefully would ensure the best results.
1. Inspect the tent thoroughly to look for seams and pinholes. The stitched seams are the most likely place to cause leakage.
2. The seam sealer will be applied to the coated side of the tent, which is normally the inside of the tent. Wipe the surface to be seam sealed with isopropyl alcohol if there is any trace of grease. Keep the surface clean and dry.
3. Apply seam sealer onto the stitched seams. Spread it evenly so that the viscous liquid gets into seams deeply to plug the holes. Use a brush applicator if necessary.
4. Leave the tent in a dry and cool place. Wait 2 to 4 hours for the seam sealer to cure.
Shin Dorn offers seam sealer products for polyurethane-coated and silicone-coated tents. Products comply with US and EU standards. For further information, please contact Shin Dorn today: Email Us Here.
Related product: Vinyl Seam Sealer (TK024)