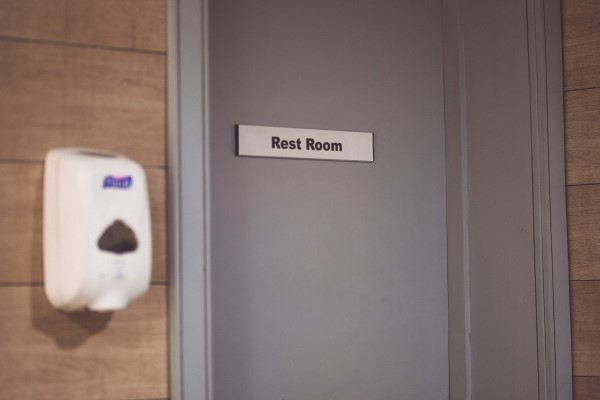
A soap dispenser is a handy hardware item in the restroom that makes hand washing less messy. However, the space on the washbasin is usually limited for accommodating a soap dispenser. Some people prefer to mount it to the wall.
While applying nails or screws is not always acceptable, one can attach the soap dispenser using silicone glue as an alternative.
Here are the simple steps to glue a soap dispenser:
- Clean the surface on the wall where the soap dispenser is to be attached. For best result, apply isopropyl alcohol to wipe off dust and grease. Keep the area dry.
- A wall soap dispenser usually consists of two parts, base and soap container. Apply silicone glue to the back of the base. Use proper amount of glue, and do not overglue.
- Attach the soap dispenser to the surface. Press firmly against the wall for 30 seconds to ensure a great seal. Wipe off adhesive residue that leaks out around the base, preferably using a plastic scraper.
- Do not install the soap container yet. It will take up to 24 hours for the glue to dry, and the base needs some support in the meantime. Use several strips of strong tape to hold the base in place.
- 5. As the base is firmly attached to the wall, install the soap-filled container on the base. Now it is ready for service!
Related product: Silicone Adhesive Glue for Plastic (GS007)